
LEARN HOW TO LIGHT A GREEN SCREEN LIKE A PRO!
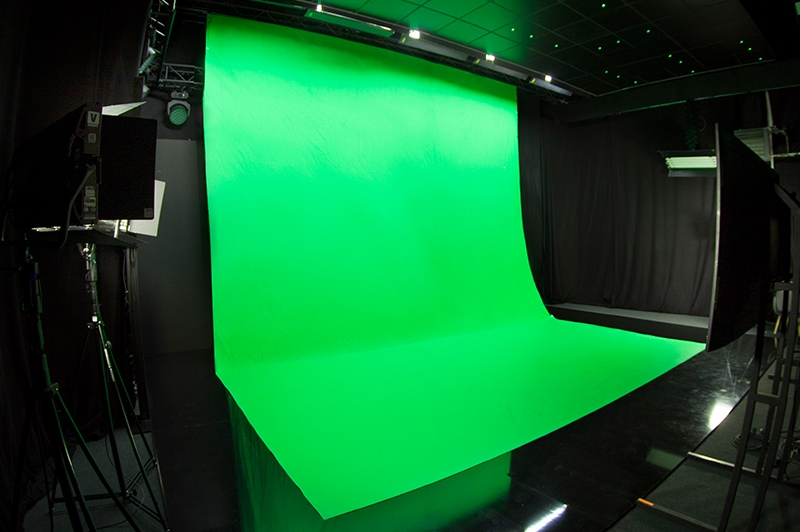
A green screen is a backdrop (usually green or blue) placed in the background of a shot to allow for digital effects in post production. The special effects department edit the background from green to anything they want with CGI (computer-generated imagery) or background footage called “plates. The screen doesn’t have to be green. Sometimes it is blue if the actor has to wear green costume or when there are natural green elements (like trees, grass, and plants) in your shot. While shooting in green screen, lighting is very important. This is because when you don’t properly light, there would be shadows which will result to a bad key. When this happens, the entire production is ruined and all efforts wasted. Check out the tips below to learn everything you need to know about green screen lighting setup.
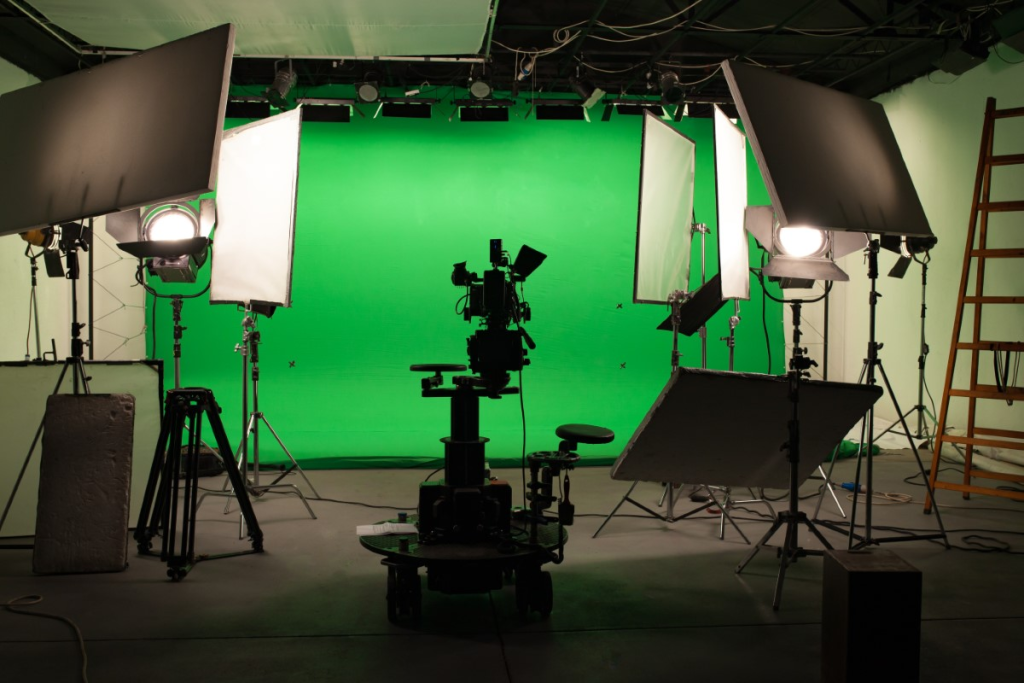
Using green screens for filmmaking can be very tricky because it has its pitfalls. The ultimate goal of any successful green screen lighting setup is to make sure the light spreads smoothly across the entire green screen. Evenness and consistency is a watch-word that any gaffer must hold on to while lighting a green screen. Any uneven inconsistency on the screen will make it harder to key out the screen in post. Your setup needs to have a balance luminance, meaning the entire screen has to have the same exact green hue. Luminance is the intensity of light emitted from a surface per unit area in a given direction. Simpler put, the entire green screen should have the same amount of lights across it.
Below are some other important tips on how to light a green screen:
1) Evenly light your green screen so you can get a good key
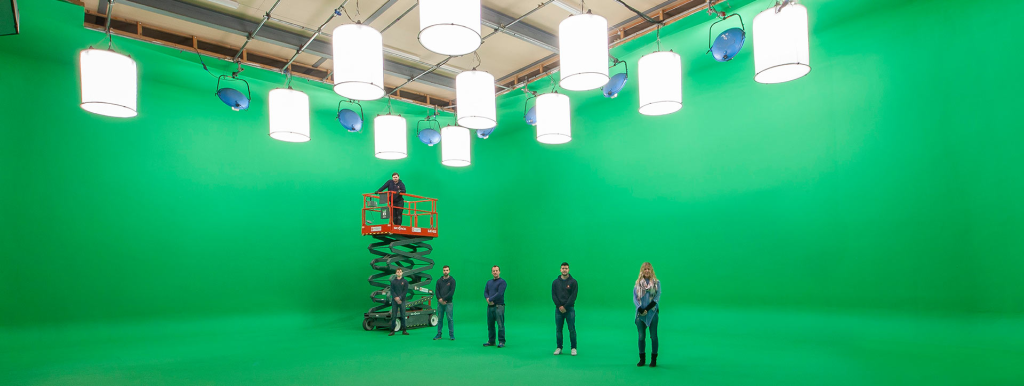
This particular point cannot be over emphasized. It is as important as a kill is to a hungry lion because there is no other way. Any area of the backdrop that appears in the frame must be lit perfectly even and exposed uniformly. If your backdrop is lit properly on one side but underexposed on the other, your compositor or editor will have a very tough time pulling a clean key in post production. The same applies to a backdrop that’s either over or underexposed. Any attempt to pull a key from a backdrop that does not read as green on camera will be a failure.
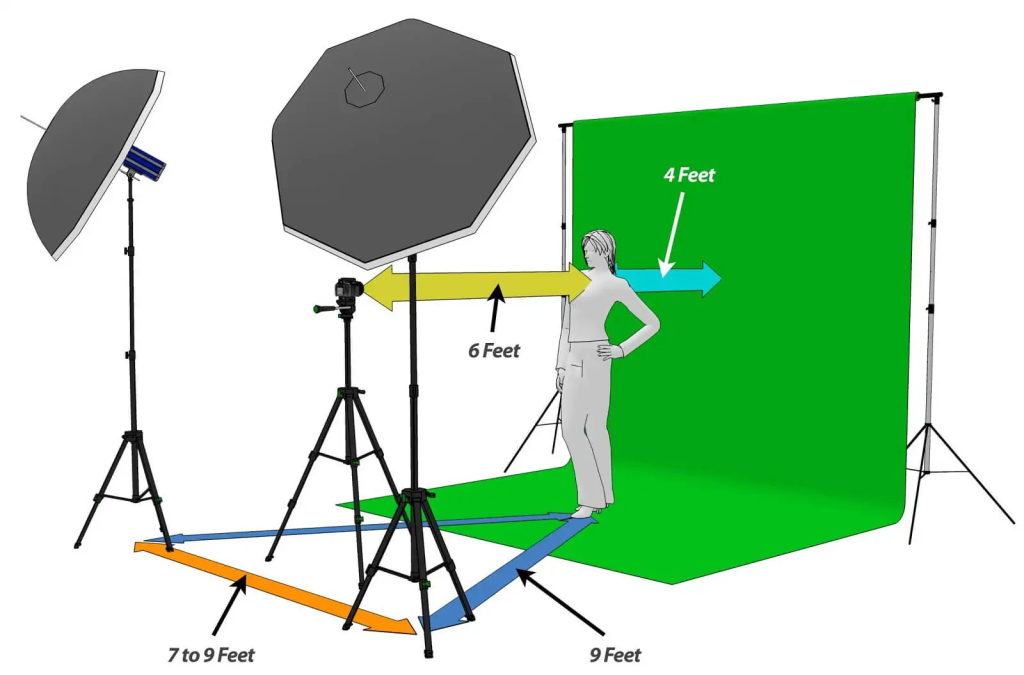
2) Create as much separation between your subject and the green screen as you can
This is another very important thing to note when lighting a green screen. Keeping a safe distance between the subject and the green screen will reduce the amount of light reflected onto them from the green screen. Many green screen materials are reflective and when the subject is too close to the green screen, there will be color spill. Color spill happens when the green luminance of the screen reflects onto the subject. When there is a spill, it takes extra time in post because the editor has to be careful not to key some parts of the subject. It is therefore safe to say that the further the subject is from the screen, the better. In general, 4 to 10 feet is a safe enough distance depending on the size of the green screen.
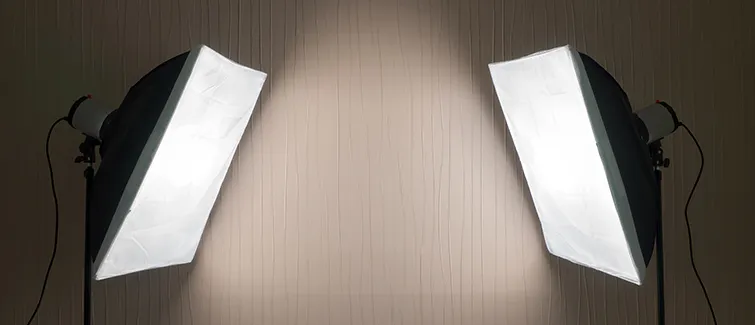
3) Use Soft Lights only
Soft lights work best for green screen. When we use hard lights on a green screen, we risk having hot spot. This simply means that lights wouldn’t evenly distribute across the green screen and some areas will appear brighter than the other. In cases where we have only hard lights, it is advices we introduce light modifiers like diffusion materials. We have an entire blog post on understanding hard and soft lights. Check it out.
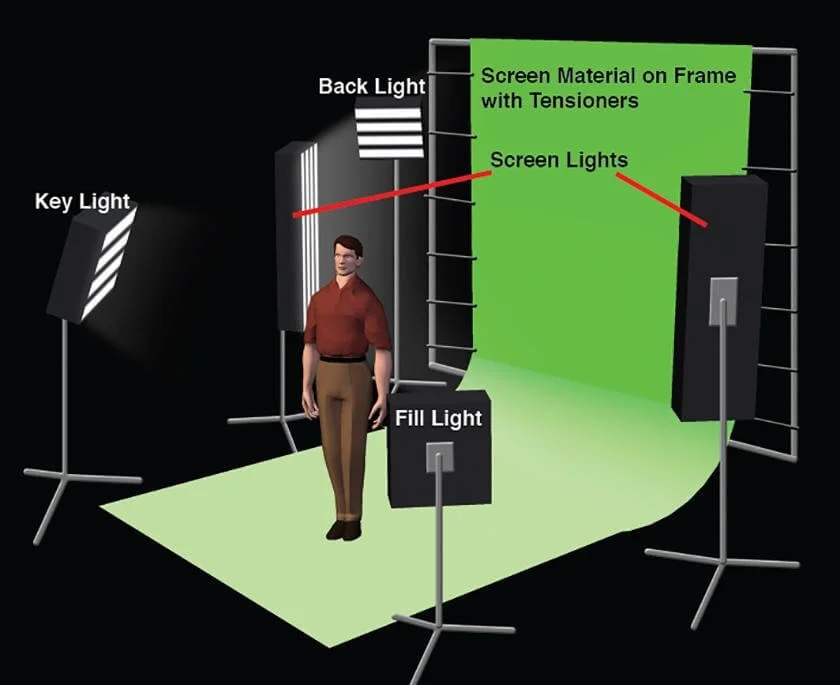
4) Light your subject first
When we light the subject first we avoid making the scene too bright and contaminating the skin, be sure to light the talent first and then figure out what you need to add to the background green screen. In most cases, it is advised that the 3 point lighting technique is employed for the subject.
5) Use the same kind of lights
In green screen lighting, we are advised to use the same kind of lights. Different lights will have different color temperatures, resulting in an uneven color balance.
6) Get the Camera settings right
Let us take a look at two important things we need to adjust in our camera, the Aperture and ISO. The aperture is the hole in your camera lens that allows light into the camera. If your green screen is underexposed, or too dark, widen the aperture. If it’s too bright, narrow the aperture. ISO on the other hand is a camera setting that brightens or darkens a picture, so higher ISOs may lead to more noise, which can make it harder to isolate a single color for your green screen. Digital noise refers to random specks of color that can appear in your video or photo.
Finally, I believe you have learnt a thing or two about lighting a green screen properly. The next time your services as a gaffer is called upon, be sure to implement these rules and you would be happy you did.
6 comments