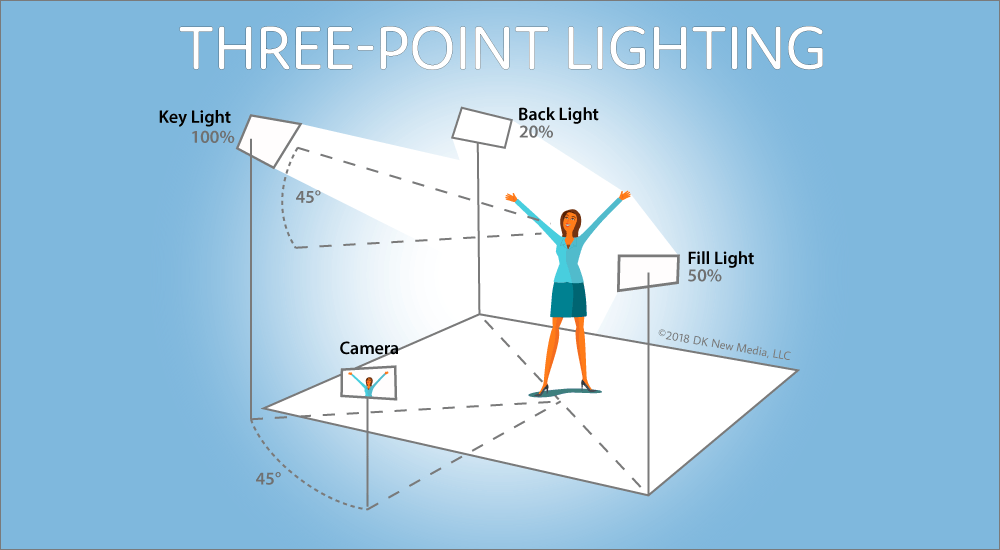
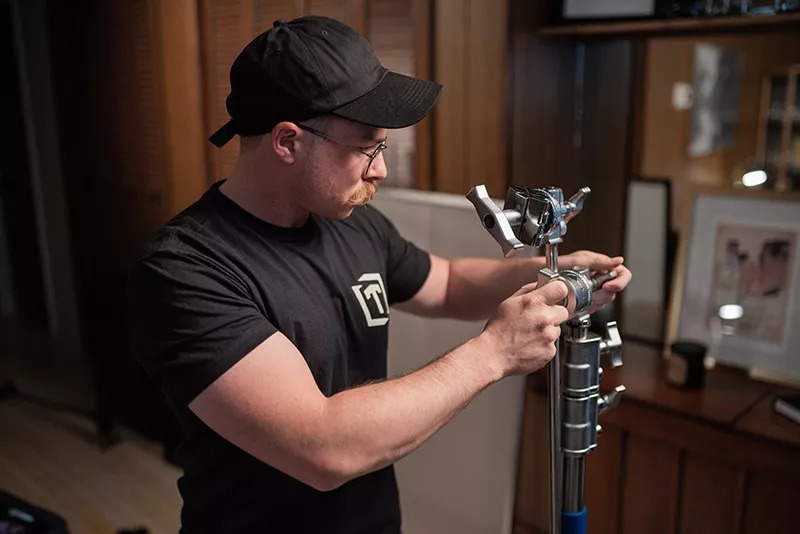
A C-stand is one of the most used and versatile tool on a film set. It is a heavy-duty tripod used to execute various lighting and rigging tasks. It is also a metal stand designed to position lights, silks, flags, backdrops, and other tools on a set and it is mostly used by the lighting and grip team on set. The “C” stands for “century,” which was the name of the most common size of reflector ( 100 square known as Centuries) held by these stands in the early days of film making. C-stands are composed of a base, a stem, a grip head, and a grip arm and they come in multiple sizes: 20″, 30″, 40″, and 60″ – the most common sizes are 20″ and 40″. They may also be chrome or black in color.

Uses of a C-Stand
There are countless ways to use a C-stand on a film set. Here are some of those uses with picture references:
1. Hanging lights
This is one of the basic use of a C-stand. Lights can either be placed on the C-stand itself or on the arm. It is important to observe safety measures when doing this. Always support the C-stand with a sand bag and consider lights that aren’t so heavy for the stand.
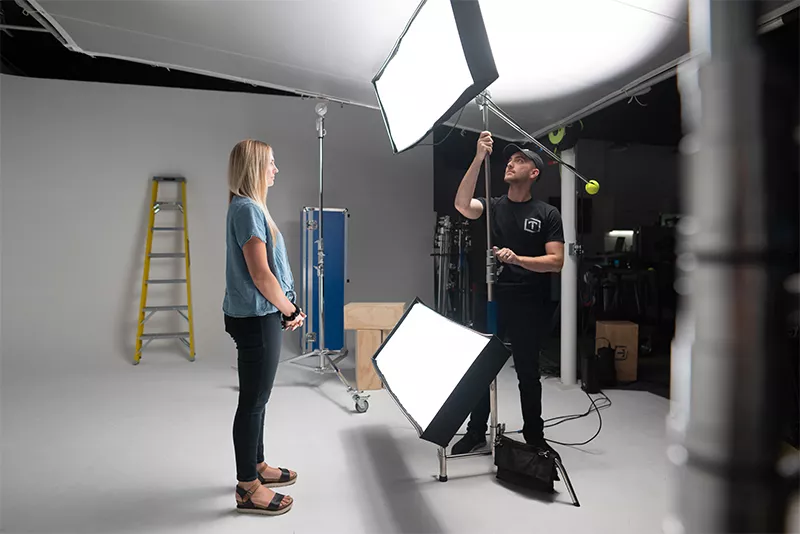
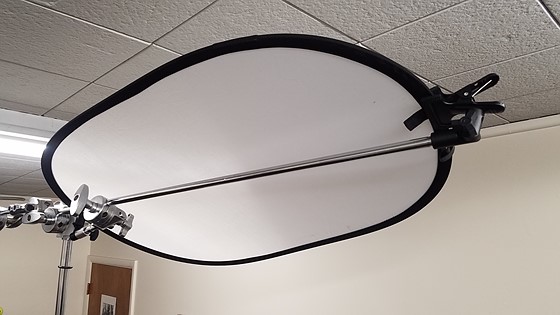
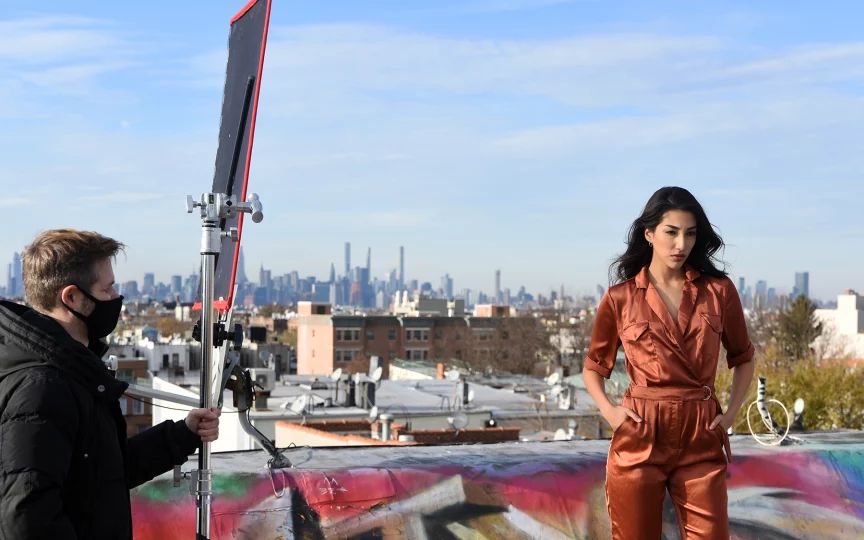
2. To position light modifiers
Light modifiers are accessories used to ‘improve’ the lighting in a scene. Modifiers are often used to diffuse, flag off, create gobo effects, create highlights and negative, create contrasts, etc. The most common light modifiers on a film set include diffusers, reflectors, scrims, umbrellas, flags, gels and barndoor. C-stands are used to hold some of these modifiers on set. Below are some examples and picture references.
A) Positioning a Flag- One of the most common ways a C-Stand is used on set is to position or “stick” a flag to modify light. Negative fill, nets, and diffusion flags can all be attached to the stand and placed precisely where it needs to be.
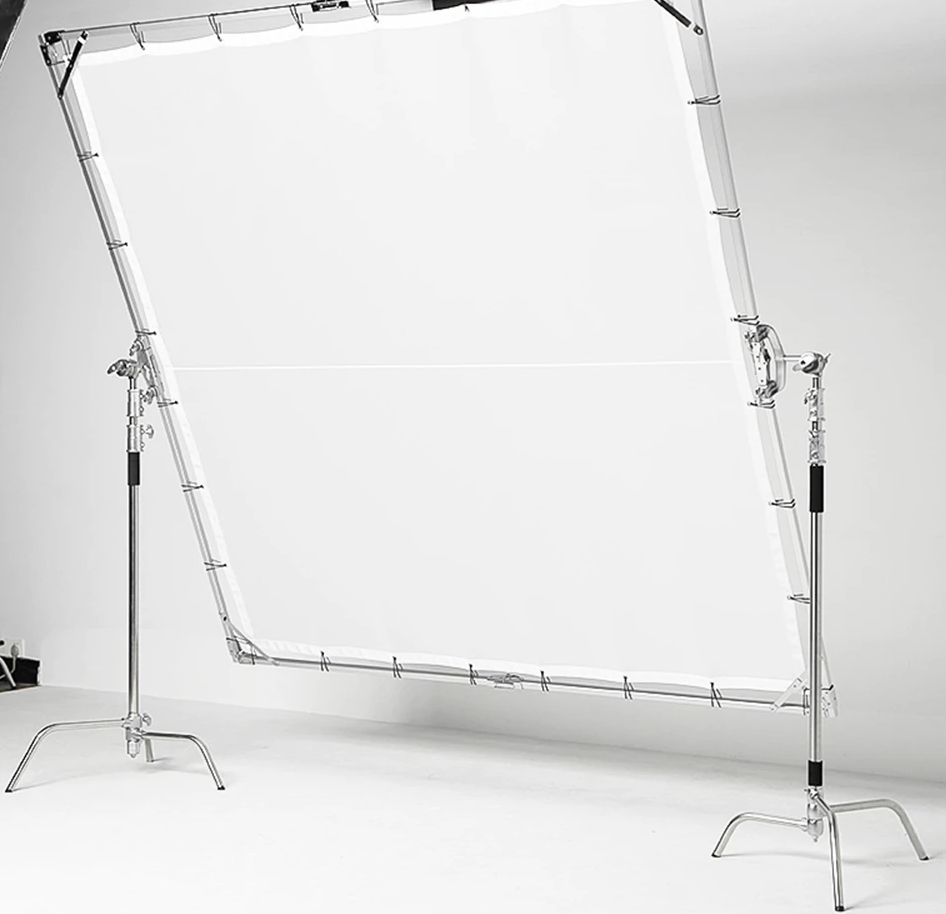
B) For hanging diffusion-Two C-Stands can be used together to grip both sides of a larger diffusion grid or silk when lighting. On a DIY set or a smaller budget, only one C-stand can be used with the diffusion as well.
C) For positioning a scrim- Scrims are light modifiers that are placed in front of a light source to reduce or diffuse its intensity and also maintain its color temperature and quality. C-stands can also be used to position a scrim on set.
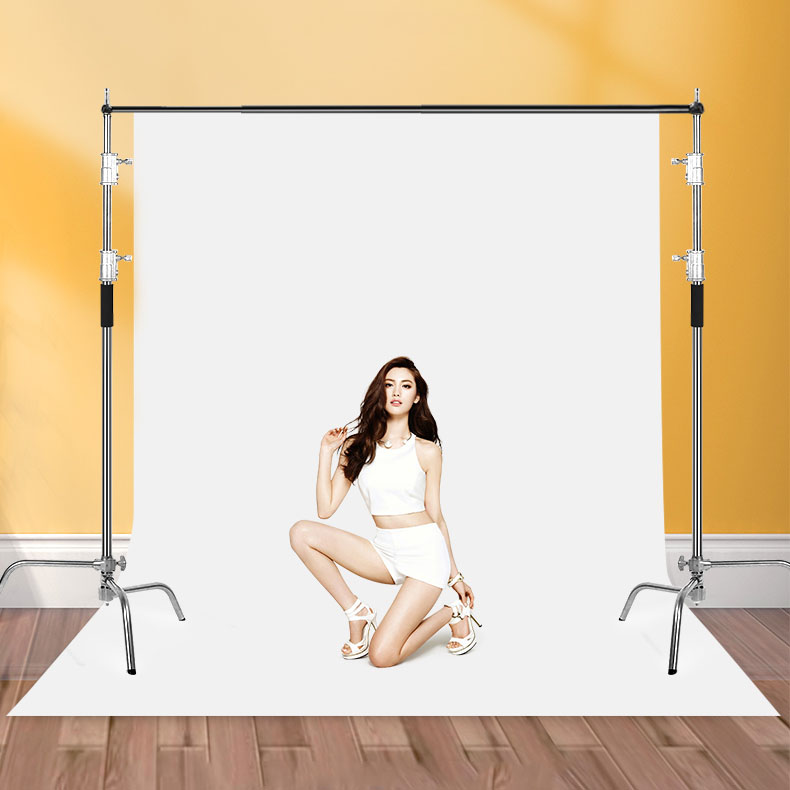
3. For hanging backdrops
Most filmmakers and even photographers use C-stands to hang their desired backdrop for shoot.
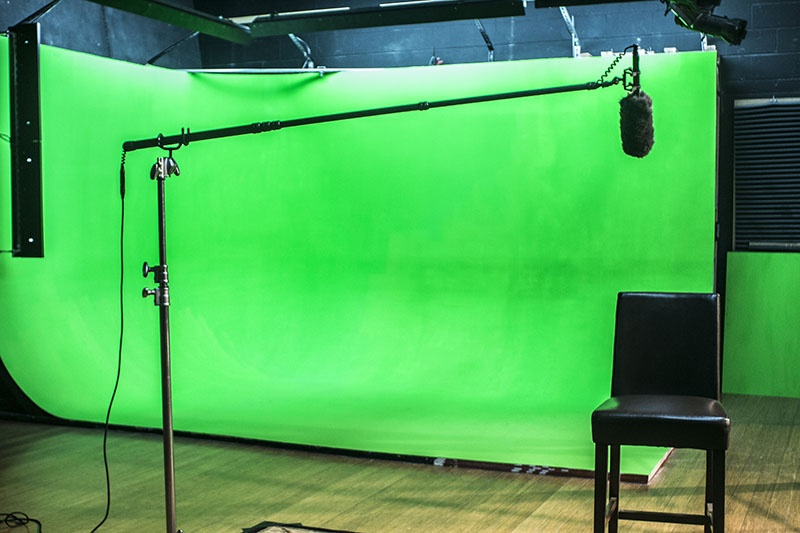
4. Boom pole for sound
C-stands can also be used to carry a boom pole to capture sound especially for a budget project.
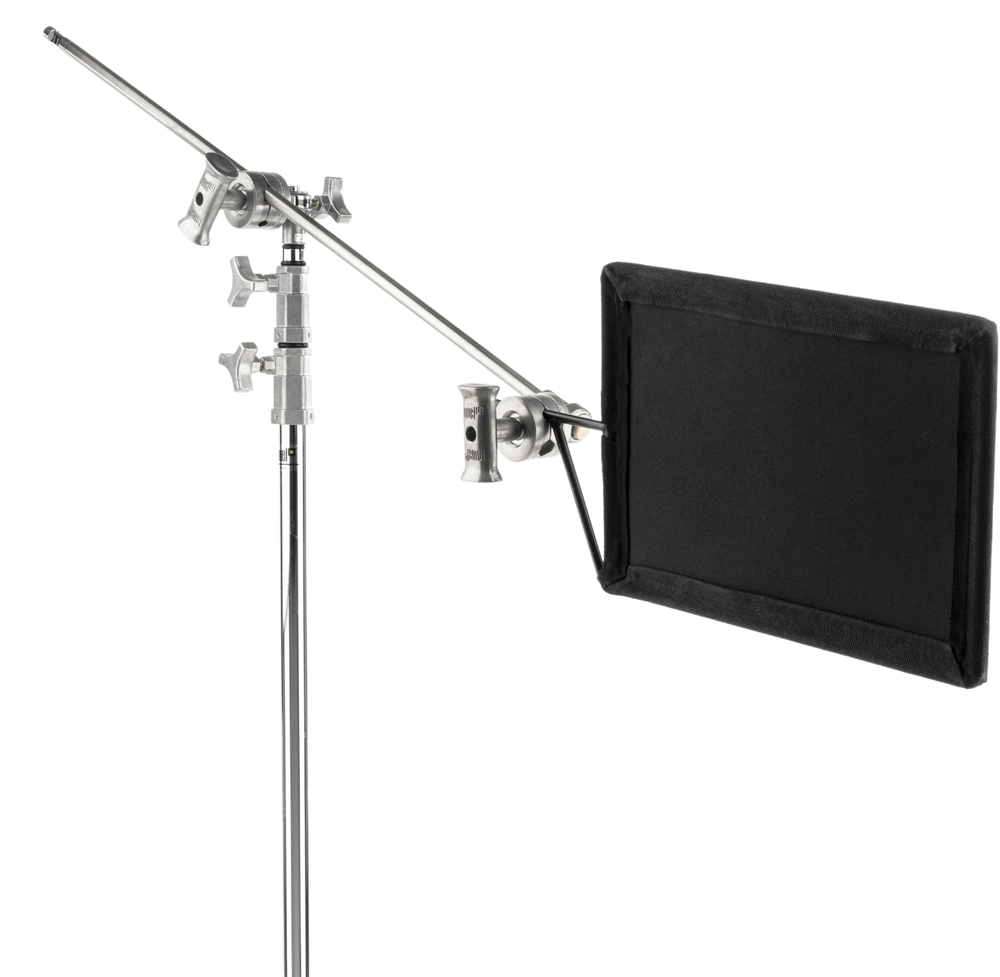
Parts of a C-Stand
C-Stands may vary in size, width of metal, and base locking mechanisms. But most stands are composed of the same fundamental parts. Understanding these parts will better help you understand how to use a C-Stand.
1. Base- The base of a C-Stand has three legs of different heights so that they can be collapsed together. Bases can differ based on the type of stand you have. Some bases have a Rocky Mountain leg in which the tallest leg can be raised upward to put on a curb or ledge. Others do not and rely on a spring loaded system.
2. Gobo Head/Grip Head- The gobo head, also known as the grip head, is what connects gobo arms to the stand. This is why they are also referred to as joints. Gobo heads have diamond shaped holes where the arms are inserted. Once the head is tightened these holes close and clamp down on the arms to properly secure the rig.
3. Gobo Arm/ Grip Arm- The gobo arm is what allows flags, lights, etc. to hang over a set out of frame from a camera. They attach to the main part of the C-Stand via the gobo head.
SAFETY TIPS–
C-stands are very useful and powerful tool found on almost every set. They can also be dangerous to both the crew and talent if users do not learn and practice some rules for its usage. To ensure safety on set, these rules must be observed:
1. Line knuckles up on the right
Line the gobo heads (“knuckles”) up on the right side of the stand. In doing so, the weight of the light/modifier against the extended grip arm will only cause the head to tighten and secure more. If it was mounted on the left side, the heavy light could weigh down the arm and loosen the grip, causing it to fall.
2. Lead with the largest leg
The tallest leg always needs to point toward the load because it is the safest configuration and helps prevents tipping. The exception to the rule is when using the Savage C-Stand with a second riser in the junior receiver of the lowest leg for clamshell lighting a model. Just be sure to pack on the sand bags.
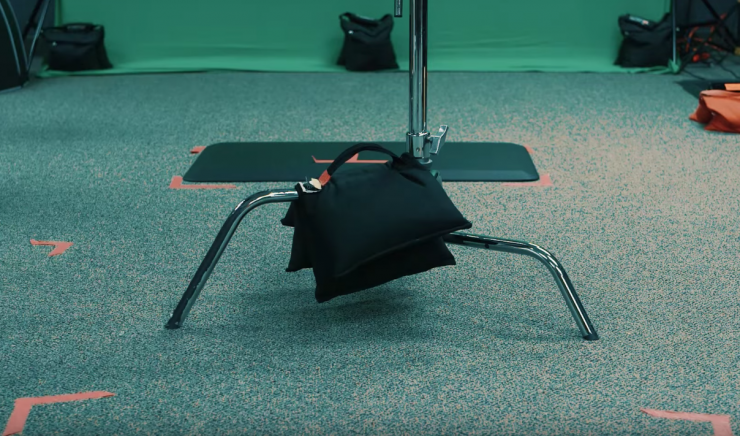
3. Use sandbags
Sand bags are an essential accessory and should always be added around the base of your stand when moderately heavy loads are being supported. This adds extra stability. Place a sandbag over the tallest leg to ensure it does not touch the ground.
4. Fold down the grip arm before transport
It is important to fold it down against the main column before you transport it. There is no need to risk swinging it into an assistant’s head to save an extra second or two! When grabbing the column to move the stand, grasp over the collapsed grip arm too. This ensures your hand will not be sandwiched when handing off the stand to a helper.

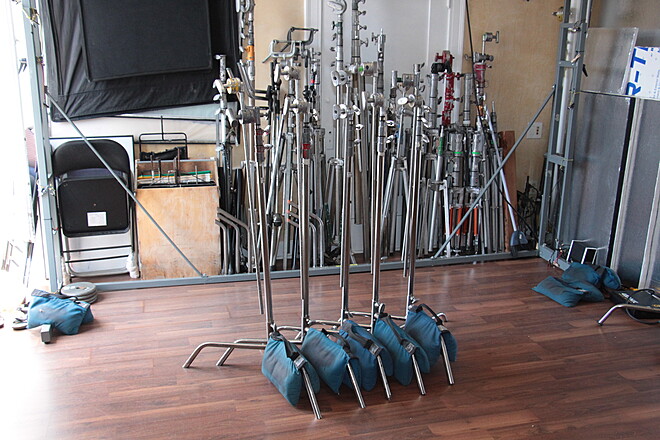
5. Nest stands for storage
Stack the stands to the right of each other when storing them to make the smallest footprint and avoid tripping hazards all over the studio. This can be referred to as “nesting”.
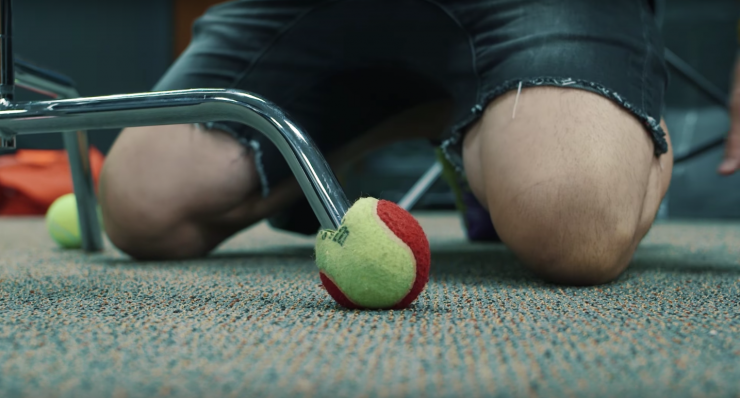
6. Practice using tennis balls
Always put a tennis ball or plastic bottle on the end of your C-stand’s under-slung arm can. It’s also good practice to throw some tennis balls on the ends of your C-stand’s legs to avoid damaging the floors.
CREDIT: https://www.studiobinder.com/blog/how-to-use-c-stand/ https://savageuniversal.com/blog/safety-tips-c-stands/