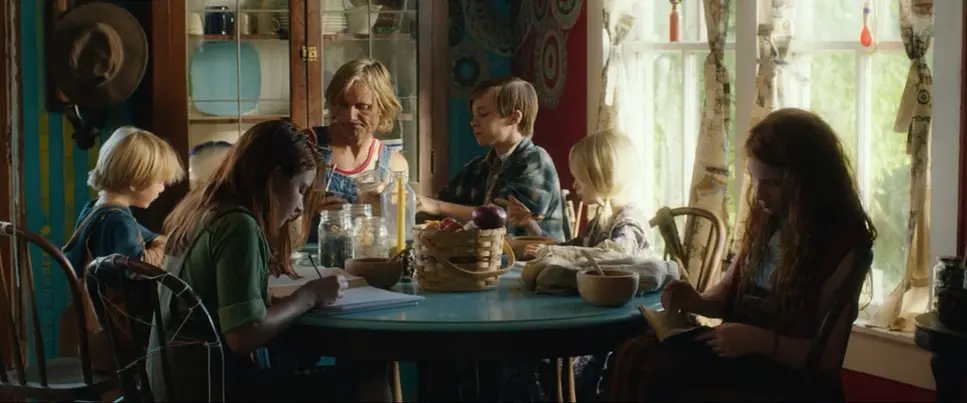
Imagine watching a film where a single lamp makes a room feel warm and safe, or where a cold beam of light from a window adds tension and mystery. These moments aren’t random, they come from smart choices in film lighting.
Practical lighting, such as lamps, candles, or neon signs, shows visible sources that feel real within the scene. Motivated lighting, like hidden LEDs or controlled daylight, supports those sources and makes them believable on camera.
Both techniques work hand in hand to shape mood, guide emotion, and create cinematic images that feel alive. To make the most of them, it helps to have a strong foundation in Understanding Various Kinds of Lighting Fixtures in Film, since knowing your tools is the first step to building powerful visuals.
1. What Is Practical Lighting?
Practical lighting means light sources that are visible inside the frame. Think of lamps, candles, neon signs, headlights, TVs, computer screens, or even flashlights. Because these sources exist within the story world, they are sometimes called diegetic lighting.
But practicals are more than just props. They can:
- Justify why a character’s face or room is lit in a certain way
- Add realism and authenticity to the scene
- Create texture with highlights and shadows
- Act as symbols (for example, a flickering candle representing uncertainty)
Here’s a unique perspective that often gets overlooked: practicals aren’t just chosen by the cinematographer. The art department also plays a role. Set designers and decorators carefully select the right lampshades, bulb types, and fixture designs so that practicals look natural on screen and match the story’s style.
The challenge is balance. Many practicals are not strong enough to light a subject properly, or they may look too bright on camera. This is why cinematographers often use practicals mainly for justification and atmosphere, while other lights (motivated ones) handle the real work of shaping exposure.
2. What Is Motivated Lighting?
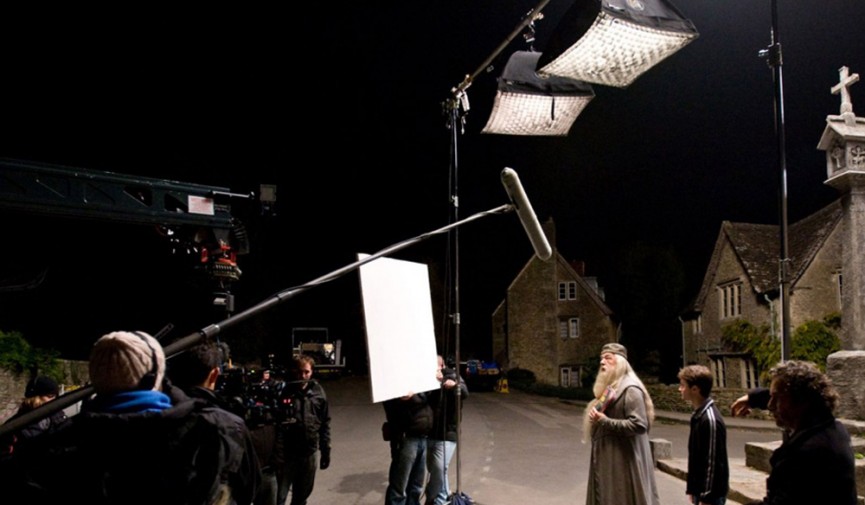
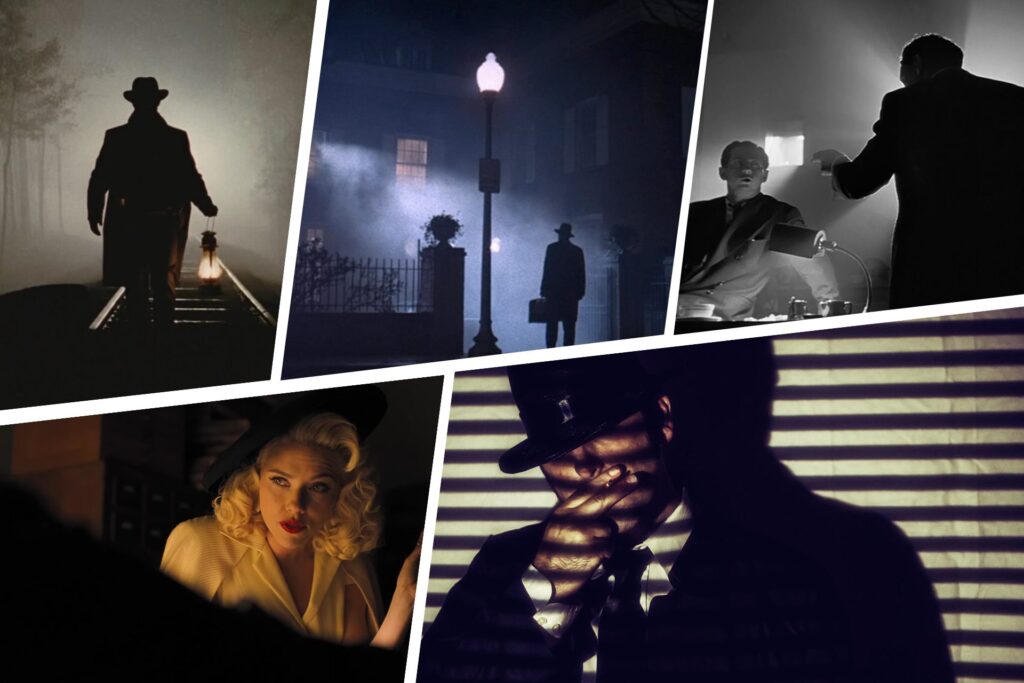
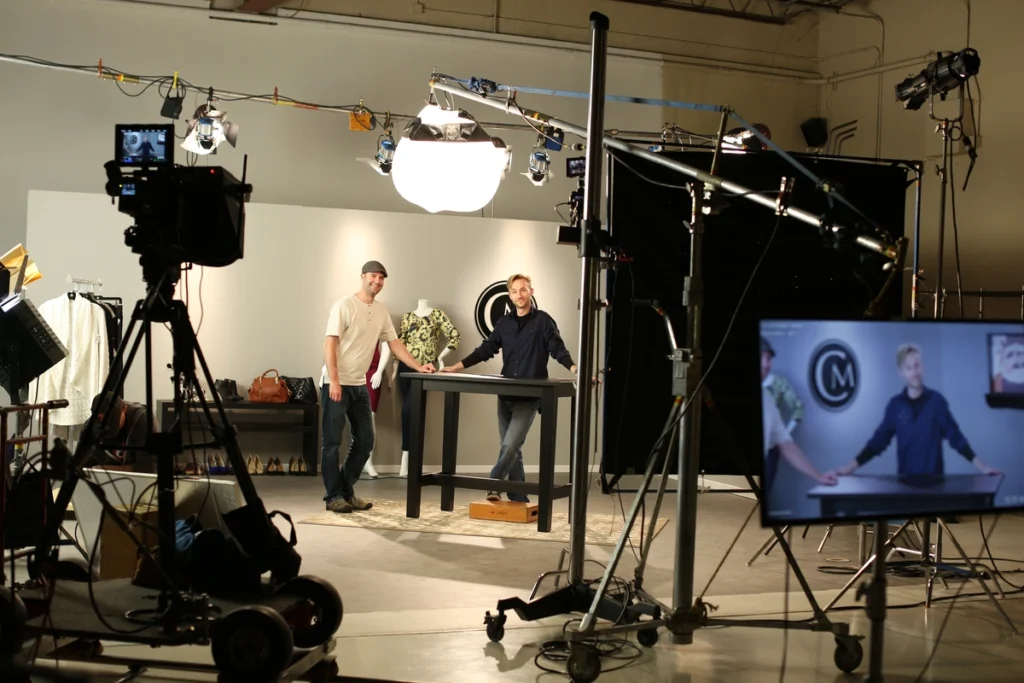
Motivated lighting is when the cinematographer places off-camera lights in a way that looks like they come from a natural or visible source. In simple terms, motivated lighting is faking realism with hidden tools.
For example:
- A large soft light outside a window simulates sunlight.
- A dimmed spotlight near the floor mimics light from a practical lamp.
- A bluish LED panel can suggest moonlight.
The key is to ensure that the direction, color, and quality of the light make sense based on what the audience sees. If a lamp is on the desk, then the shadows and highlights should look like they come from that lamp, even if the actual light is hidden behind the camera.
Here’s where psychology comes in. Viewers subconsciously expect light to behave naturally. If it doesn’t, the illusion breaks. Motivated lighting is about protecting that illusion, keeping the audience immersed in the story without drawing attention to the gear.
A common mistake among beginners is forgetting to match the color temperature of motivated lights with the practicals. For instance, a warm lamp paired with a cold key light can look unnatural unless it’s a deliberate creative choice.
Key Differences Between Practical and Motivated Lighting
| Aspect | Practical Lighting | Motivated Lighting |
|---|---|---|
| Visibility | On-screen, visible light source | Off-screen, hidden light source |
| Purpose | Adds realism, decoration, story cues | Provides actual exposure, mimics natural light |
| Examples | Lamps, candles, neon signs | Sunlight through windows, hidden softboxes |
| Control | Limited (depends on real bulb/fixture) | High (cinematographer controls everything) |
Both are essential. Practicals bring authenticity. Motivated lights bring consistency and control. Together, they form a complete cinematic toolkit.
Practical and Motivated Lighting Setups for Different Scenes
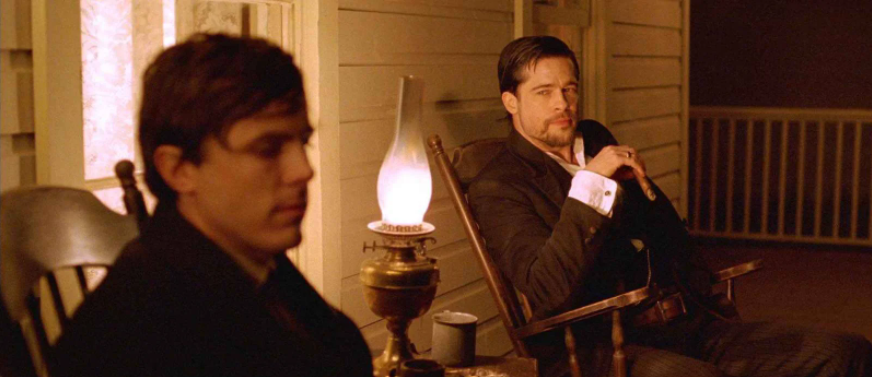
- Interior Drama Scene
Use a warm table lamp as the practical light, and add a cool blue light outside the window to mimic moonlight. This warm–cool mix creates emotion and cinematic depth. - Café or Bar Scene
Neon signs or lamps can serve as practical lights, while a hidden LED works as the motivated fill. This keeps the neon glow while making faces visible. - Car Interior at Night
The dashboard glow can be your practical source. Add a moving LED outside the car to simulate passing streetlights for a realistic night-driving effect. - Interview Look
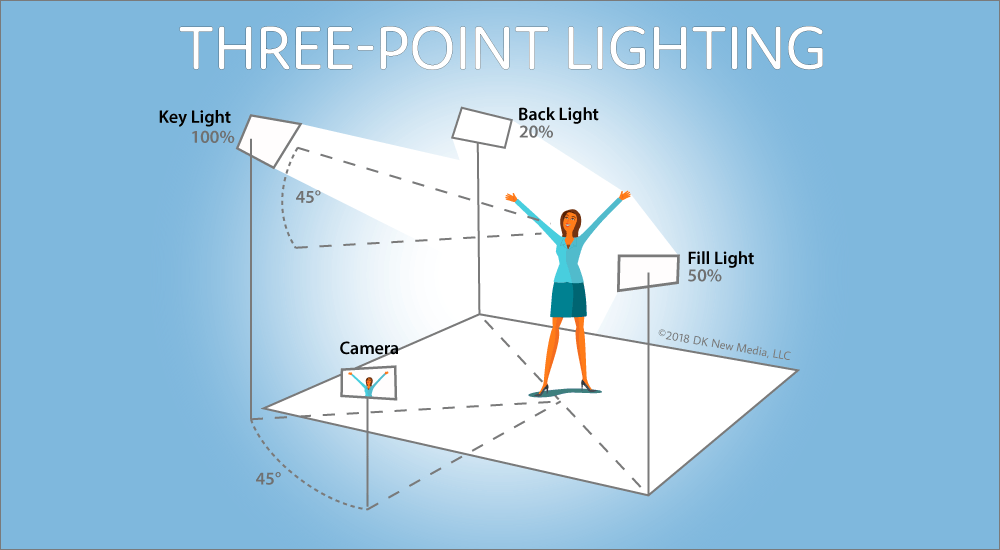
A monitor screen or desk lamp provides soft practical light. Balance it with a key light at 45° for a natural yet professional interview setup, following classic Three-point lighting principles. - Candlelit Scene
Real candles give flicker and warmth but aren’t bright enough. Hide a soft warm LED nearby as motivated fill to keep faces visible without losing the mood. - Low-Budget Hack
Swap normal bulbs with dimmable smart bulbs. Pair them with a cheap LED panel or clamp light for affordable, flexible, cinematic lighting.
7 Techniques to Master Practical and Motivated Lighting
1. Use practical as justification
Always include visible lights in your frame, such as lamps, candles, or neon signs. These lights justify why a subject is illuminated, making the scene feel believable. Without practicals, lighting can look fake or disconnected from the story.
2. Blend color temperatures
Mixing warm and cool tones adds depth. For example, use a warm lamp indoors (practical) and balance it with cool blue light through a window (motivated moonlight). This contrast not only looks cinematic but also guides the audience’s emotions.
3. Dim practicals for mood
Practical bulbs are often too bright for camera. Knowing how to control them with diffusion or gels is important, which is why understanding the basics of hard and soft lights can help you create the right mood.
4. Use negative fill
Not all scenes need more light. Sometimes removing light makes things stronger. Place black cloth or flags near your subject to absorb excess light. This adds shadows, drama, and shape to the scene, especially in tense or emotional moments.
5. Layer multiple practicals
Instead of relying on one lamp, combine different practical sources, like table lamps, candles, or fairy lights. Layering creates a three-dimensional feel and makes the world of your story look fuller and more realistic.
6. Match shadow direction
Shadows should always follow the placement of your lights. If the lamp is on the left, the shadows should fall naturally to the right. This small detail ensures the audience believes the light is real and consistent.
7. Plan in pre-production
Good lighting starts before the cameras roll. Decide where practical lights will sit during set design or location scouting. Knowing this early saves time on set and makes the lighting flow naturally with the story.
People also ask
What is the difference between practical and motivated lighting?
Motivated light ensures that the lighting in a scene feels natural and believable, while practical light adds authenticity and mood. By mastering these concepts, you can create compelling images that resonate with viewers and support your story.
Can practicals be the only source of light in a scene?
Yes, but only if you want a very low-light, natural look. Most professionals combine practicals with motivated lights to maintain proper exposure.
Is motivated lighting always invisible to the audience?
Yes. By definition, motivated lights stay off-screen but look like they belong within the story world.
How do professionals plan lighting motivation during pre-production?
They collaborate with set designers to position practicals early, then plan motivated lights around those placements for consistency.
CREDIT – https://www.studiobinder.com/blog/what-is-motivated-lighting-in-film/